クイックスタート
MCP Gateway のワンクリックデプロイ
まず、必要な環境変数を設定します:
export OPENAI_API_KEY="sk-eed837fb0b4a62ee69abc29a983492b7PlsChangeMe"
export OPENAI_MODEL="gpt-4o-mini"
export APISERVER_JWT_SECRET_KEY="fec6d38f73d4211318e7c85617f0e333PlsChangeMe"
export SUPER_ADMIN_USERNAME="admin"
export SUPER_ADMIN_PASSWORD="297df52fbc321ebf7198d497fe1c9206PlsChangeMe"
ワンクリックデプロイ:
docker run -d \
  --name unla \
  -p 8080:80 \
  -p 5234:5234 \
  -p 5235:5235 \
  -p 5335:5335 \
  -p 5236:5236 \
  -e ENV=production \
  -e TZ=Asia/Shanghai \
  -e OPENAI_API_KEY=${OPENAI_API_KEY} \
  -e OPENAI_MODEL=${OPENAI_MODEL} \
  -e APISERVER_JWT_SECRET_KEY=${APISERVER_JWT_SECRET_KEY} \
  -e SUPER_ADMIN_USERNAME=${SUPER_ADMIN_USERNAME} \
  -e SUPER_ADMIN_PASSWORD=${SUPER_ADMIN_PASSWORD} \
  --restart unless-stopped \
  ghcr.io/amoylab/unla/allinone:latest
中国本土のユーザーの場合、阿里雲レジストリを使用し、モデルをカスタマイズできます(例:千問):
export OPENAI_BASE_URL="https://dashscope.aliyuncs.com/compatible-mode/v1/"
export OPENAI_API_KEY="sk-eed837fb0b4a62ee69abc29a983492b7PlsChangeMe"
export OPENAI_MODEL="qwen-turbo"
export APISERVER_JWT_SECRET_KEY="fec6d38f73d4211318e7c85617f0e333PlsChangeMe"
export SUPER_ADMIN_USERNAME="admin"
export SUPER_ADMIN_PASSWORD="297df52fbc321ebf7198d497fe1c9206PlsChangeMe"
ワンクリックデプロイ:
docker run -d \
  --name unla \
  -p 8080:80 \
  -p 5234:5234 \
  -p 5235:5235 \
  -p 5335:5335 \
  -p 5236:5236 \
  -e ENV=production \
  -e TZ=Asia/Shanghai \
  -e OPENAI_BASE_URL=${OPENAI_BASE_URL} \
  -e OPENAI_API_KEY=${OPENAI_API_KEY} \
  -e OPENAI_MODEL=${OPENAI_MODEL} \
  -e APISERVER_JWT_SECRET_KEY=${APISERVER_JWT_SECRET_KEY} \
  -e SUPER_ADMIN_USERNAME=${SUPER_ADMIN_USERNAME} \
  -e SUPER_ADMIN_PASSWORD=${SUPER_ADMIN_PASSWORD} \
  --restart unless-stopped \
  registry.ap-southeast-1.aliyuncs.com/amoylab/unla-allinone:latest
アクセスと設定
-
Web UI にアクセス:
- ブラウザで http://localhost:8080/ を開く
- 設定した管理者認証情報でログイン
-
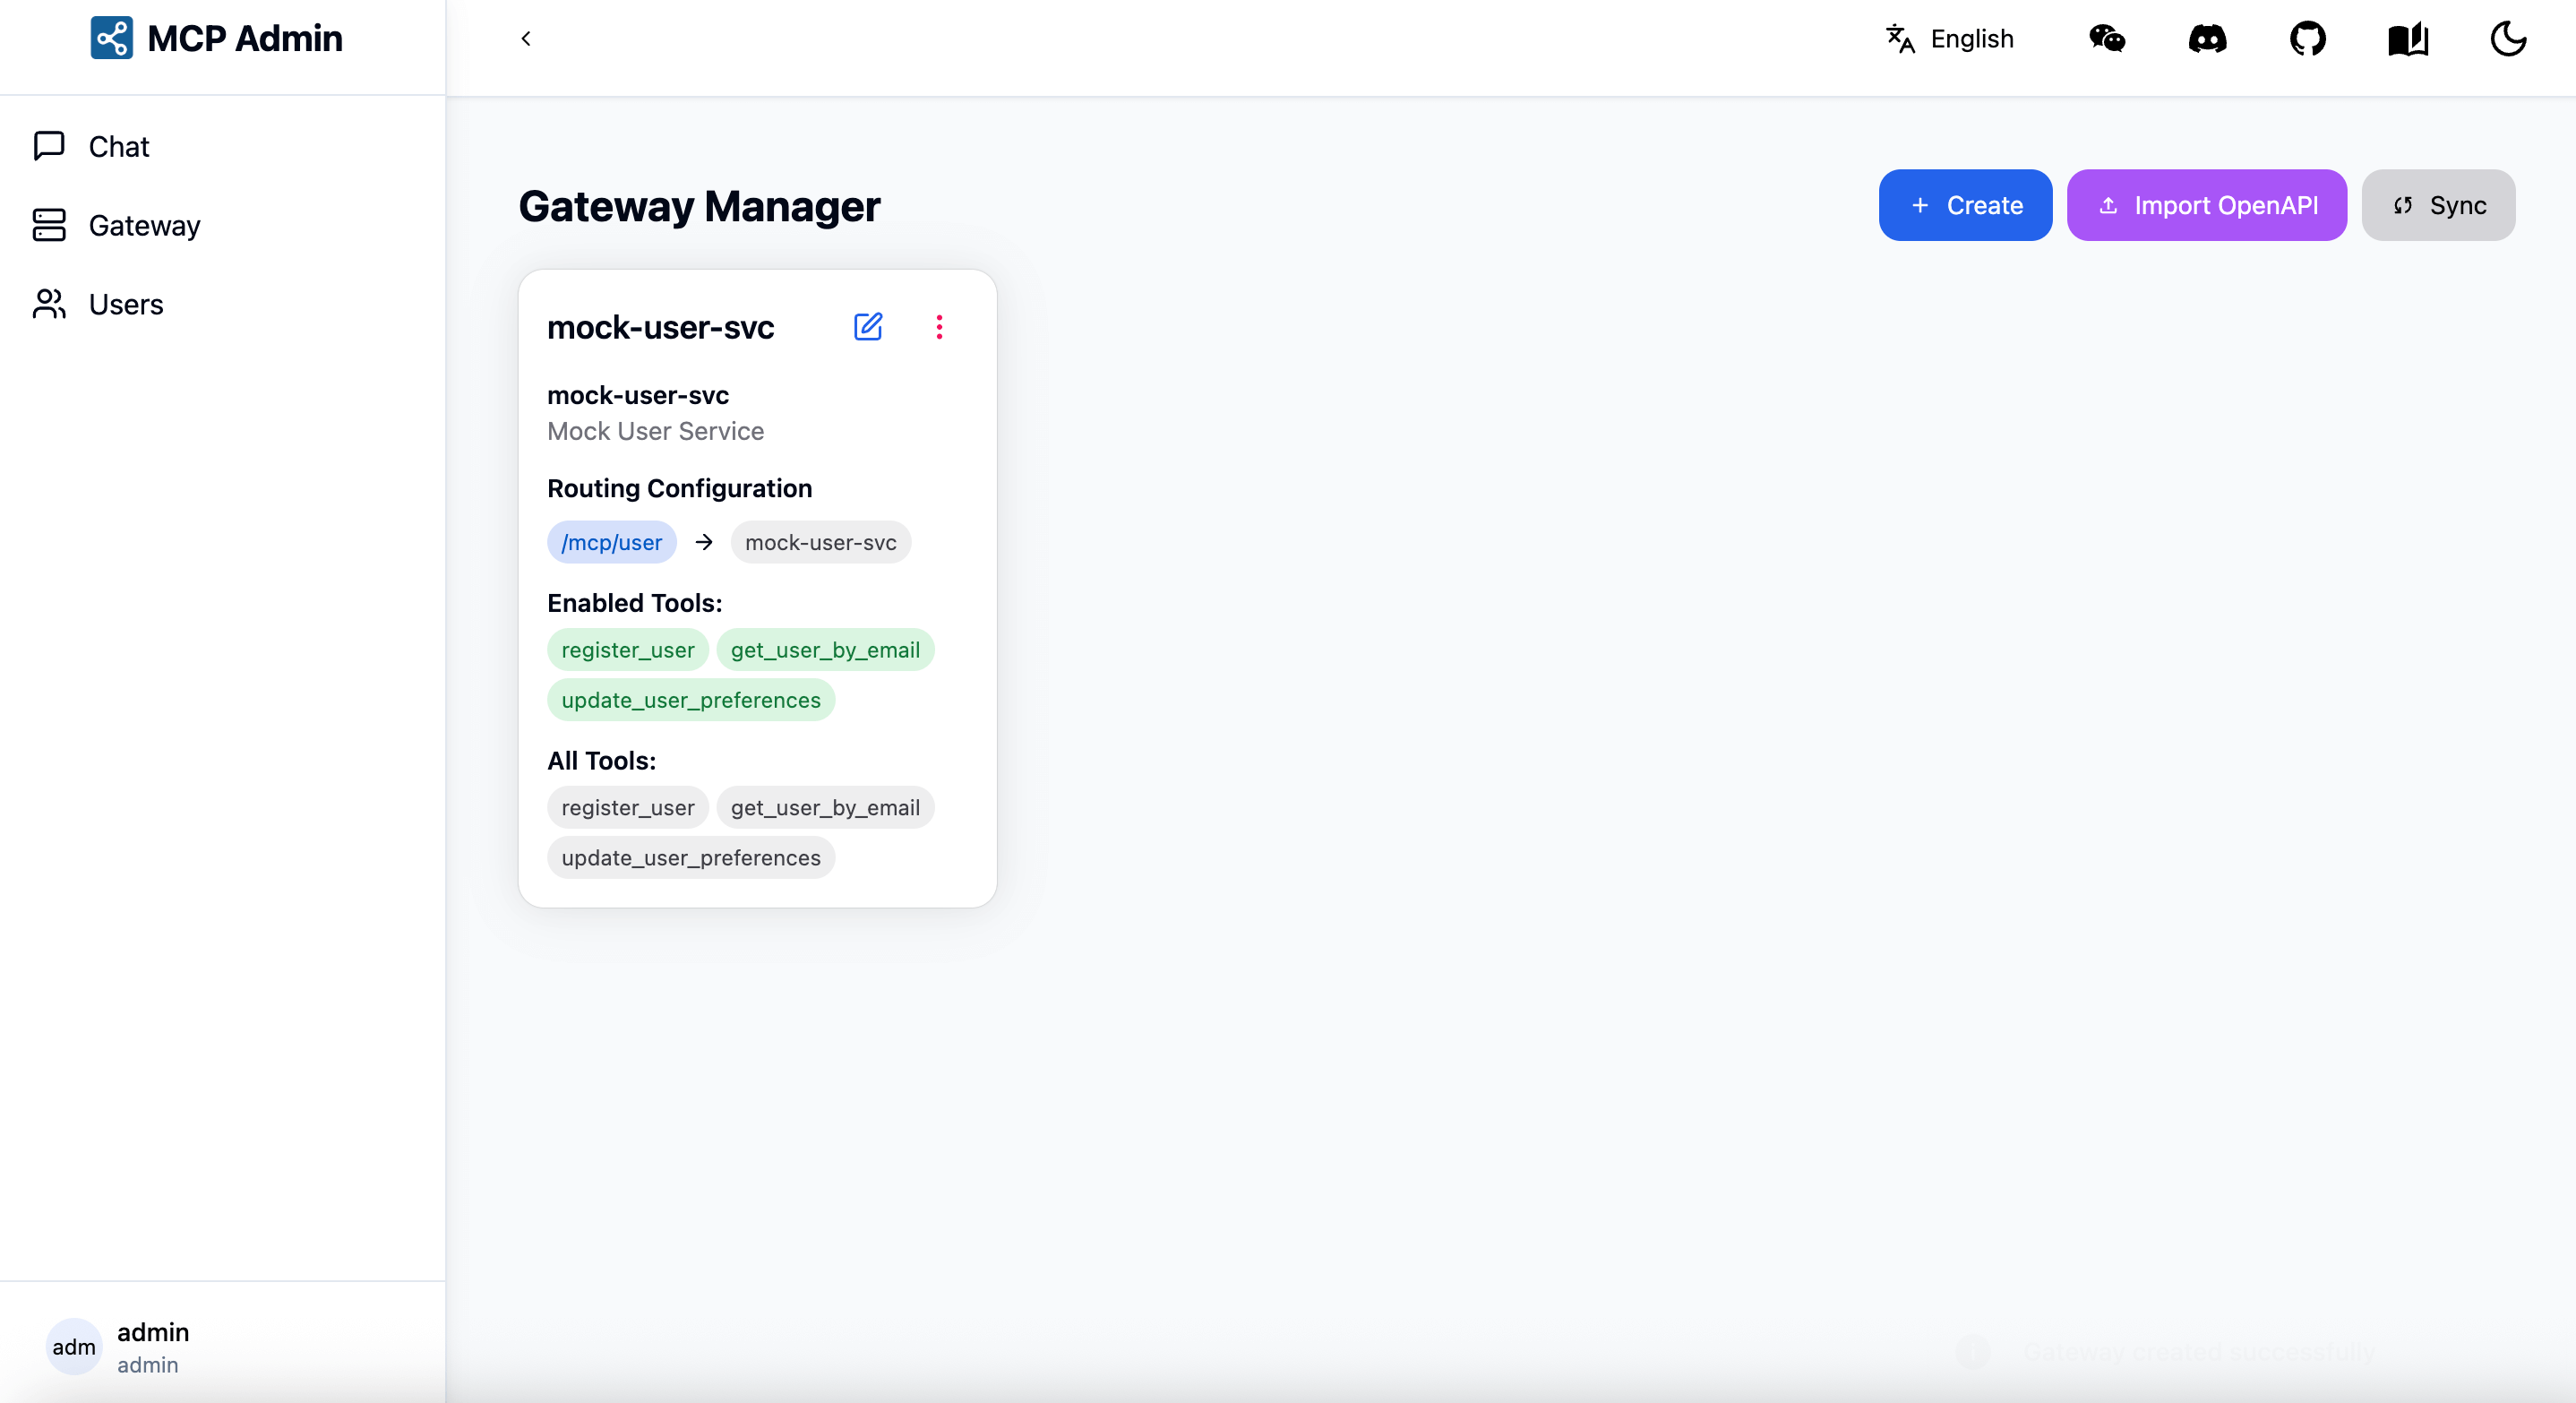
新しい MCP Server を追加:
- 設定ファイルをコピー:https://github.com/amoylab/unla/blob/main/configs/mock-server.yaml
- Web UI で「Add MCP Server」をクリック
- 設定を貼り付けて保存
利用可能なエンドポイント
設定が完了すると、以下のエンドポイントでサービスが利用可能になります:
- MCP SSE: http://localhost:5235/mcp/user/sse
- MCP SSE Message: http://localhost:5235/mcp/user/message
- MCP Streamable HTTP: http://localhost:5235/mcp/user/mcp
MCPクライアントで/sseまたは/mcpで終わるURLを設定すると、すぐに利用を開始できます。
テスト
サービスは以下の2つの方法でテストできます:
- Web UI の MCP Chat ページを使用
- 独自の MCP Client を使用(推奨)
高度な設定(オプション)
より細かい設定が必要な場合は、設定ファイルをマウントしてサービスを起動できます:
- 必要なディレクトリを作成し、設定ファイルをダウンロード:
mkdir -p unla/{configs,data}
cd unla/
curl -sL https://raw.githubusercontent.com/amoylab/unla/refs/heads/main/configs/apiserver.yaml -o configs/apiserver.yaml
curl -sL https://raw.githubusercontent.com/amoylab/unla/refs/heads/main/configs/mcp-gateway.yaml -o configs/mcp-gateway.yaml
curl -sL https://raw.githubusercontent.com/amoylab/unla/refs/heads/main/.env.example -o .env.allinone
- Docker で MCP Gateway を実行:
docker run -d \
           --name unla \
           -p 8080:80 \
           -p 5234:5234 \
           -p 5235:5235 \
           -p 5335:5335 \
           -p 5236:5236 \
           -e ENV=production \
           -v $(pwd)/configs:/app/configs \
           -v $(pwd)/data:/app/data \
           -v $(pwd)/.env.allinone:/app/.env \
           --restart unless-stopped \
           ghcr.io/amoylab/unla/allinone:latest