Quick Start
One-Click Deployment of MCP Gateway
First, set up the required environment variables:
export OPENAI_API_KEY="sk-eed837fb0b4a62ee69abc29a983492b7PlsChangeMe"
export OPENAI_MODEL="gpt-4o-mini"
export APISERVER_JWT_SECRET_KEY="fec6d38f73d4211318e7c85617f0e333PlsChangeMe"
export SUPER_ADMIN_USERNAME="admin"
export SUPER_ADMIN_PASSWORD="297df52fbc321ebf7198d497fe1c9206PlsChangeMe"
One-click deployment:
docker run -d \
  --name unla \
  -p 8080:80 \
  -p 5234:5234 \
  -p 5235:5235 \
  -p 5335:5335 \
  -p 5236:5236 \
  -e ENV=production \
  -e TZ=Asia/Shanghai \
  -e OPENAI_API_KEY=${OPENAI_API_KEY} \
  -e OPENAI_MODEL=${OPENAI_MODEL} \
  -e APISERVER_JWT_SECRET_KEY=${APISERVER_JWT_SECRET_KEY} \
  -e SUPER_ADMIN_USERNAME=${SUPER_ADMIN_USERNAME} \
  -e SUPER_ADMIN_PASSWORD=${SUPER_ADMIN_PASSWORD} \
  --restart unless-stopped \
  ghcr.io/amoylab/unla/allinone:latest
For users in mainland China, you can use Alibaba Cloud registry and customize the model (example using Qwen):
export OPENAI_BASE_URL="https://dashscope.aliyuncs.com/compatible-mode/v1/"
export OPENAI_API_KEY="sk-eed837fb0b4a62ee69abc29a983492b7PlsChangeMe"
export OPENAI_MODEL="qwen-turbo"
export APISERVER_JWT_SECRET_KEY="fec6d38f73d4211318e7c85617f0e333PlsChangeMe"
export SUPER_ADMIN_USERNAME="admin"
export SUPER_ADMIN_PASSWORD="297df52fbc321ebf7198d497fe1c9206PlsChangeMe"
One-click deployment:
docker run -d \
  --name unla \
  -p 8080:80 \
  -p 5234:5234 \
  -p 5235:5235 \
  -p 5335:5335 \
  -p 5236:5236 \
  -e ENV=production \
  -e TZ=Asia/Shanghai \
  -e OPENAI_BASE_URL=${OPENAI_BASE_URL} \
  -e OPENAI_API_KEY=${OPENAI_API_KEY} \
  -e OPENAI_MODEL=${OPENAI_MODEL} \
  -e APISERVER_JWT_SECRET_KEY=${APISERVER_JWT_SECRET_KEY} \
  -e SUPER_ADMIN_USERNAME=${SUPER_ADMIN_USERNAME} \
  -e SUPER_ADMIN_PASSWORD=${SUPER_ADMIN_PASSWORD} \
  --restart unless-stopped \
  registry.ap-southeast-1.aliyuncs.com/amoylab/unla-allinone:latest
Access and Configuration
-
Access the Web UI:
- Open your browser and navigate to http://localhost:8080/
- Log in with the configured admin credentials
-
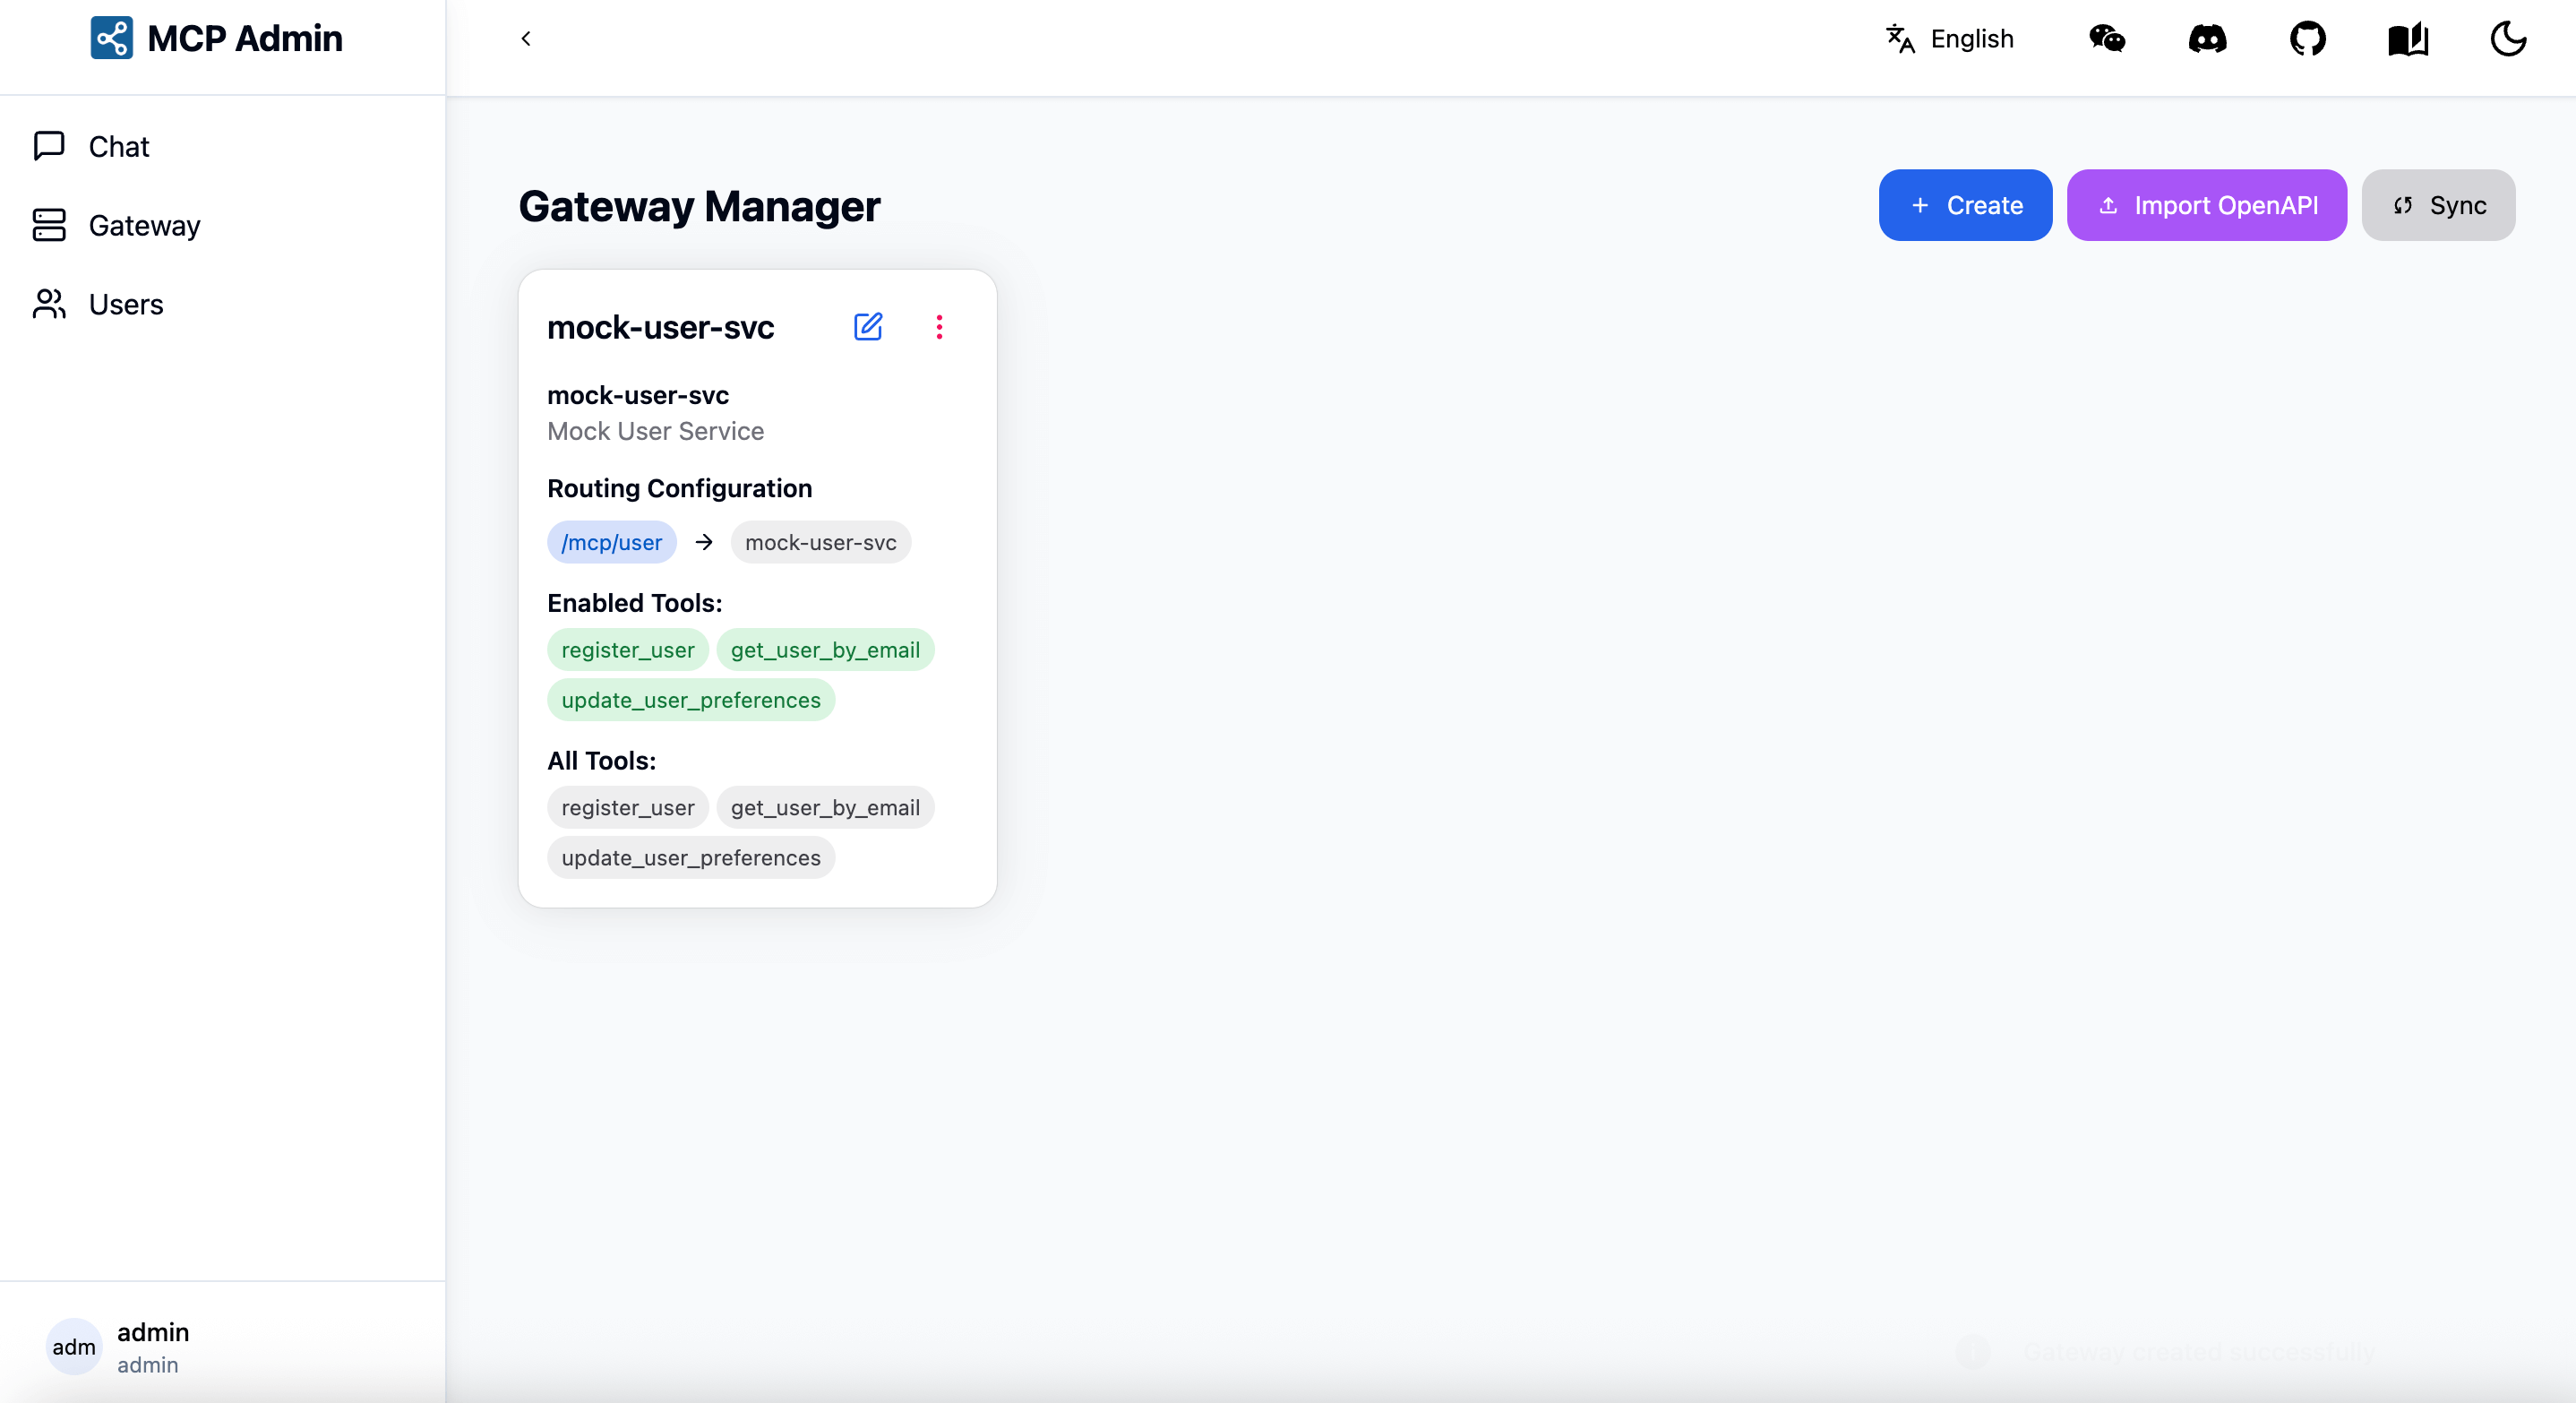
Add a new MCP Server:
- Copy the configuration file: https://github.com/amoylab/unla/blob/main/configs/mock-server.yaml
- Click "Add MCP Server" in the Web UI
- Paste the configuration and save
Available Endpoints
Once configured, the services will be available at the following endpoints:
- MCP SSE: http://localhost:5235/mcp/user/sse
- MCP SSE Message: http://localhost:5235/mcp/user/message
- MCP Streamable HTTP: http://localhost:5235/mcp/user/mcp
Configure the MCP Client with a URL ending in /sse or /mcp to start using the service.
Testing
You can test the service in two ways:
- Use the MCP Chat page in the Web UI
- Use your own MCP Client (Recommended)
Advanced Configuration (Optional)
If you need more granular control over the configuration, you can start the service by mounting configuration files:
- Create the necessary directories and download the configuration files:
mkdir -p unla/{configs,data}
cd unla/
curl -sL https://raw.githubusercontent.com/amoylab/unla/refs/heads/main/configs/apiserver.yaml -o configs/apiserver.yaml
curl -sL https://raw.githubusercontent.com/amoylab/unla/refs/heads/main/configs/mcp-gateway.yaml -o configs/mcp-gateway.yaml
curl -sL https://raw.githubusercontent.com/amoylab/unla/refs/heads/main/.env.example -o .env.allinone
- Run MCP Gateway with Docker:
docker run -d \
           --name unla \
           -p 8080:80 \
           -p 5234:5234 \
           -p 5235:5235 \
           -p 5335:5335 \
           -p 5236:5236 \
           -e ENV=production \
           -v $(pwd)/configs:/app/configs \
           -v $(pwd)/data:/app/data \
           -v $(pwd)/.env.allinone:/app/.env \
           --restart unless-stopped \
           ghcr.io/amoylab/unla/allinone:latest