빠른 시작
MCP Gateway 원클릭 배포
먼저 필요한 환경 변수를 설정합니다:
export OPENAI_API_KEY="sk-eed837fb0b4a62ee69abc29a983492b7PlsChangeMe"
export OPENAI_MODEL="gpt-4o-mini"
export APISERVER_JWT_SECRET_KEY="fec6d38f73d4211318e7c85617f0e333PlsChangeMe"
export SUPER_ADMIN_USERNAME="admin"
export SUPER_ADMIN_PASSWORD="297df52fbc321ebf7198d497fe1c9206PlsChangeMe"
원클릭 배포:
docker run -d \
  --name unla \
  -p 8080:80 \
  -p 5234:5234 \
  -p 5235:5235 \
  -p 5335:5335 \
  -p 5236:5236 \
  -e ENV=production \
  -e TZ=Asia/Shanghai \
  -e OPENAI_API_KEY=${OPENAI_API_KEY} \
  -e OPENAI_MODEL=${OPENAI_MODEL} \
  -e APISERVER_JWT_SECRET_KEY=${APISERVER_JWT_SECRET_KEY} \
  -e SUPER_ADMIN_USERNAME=${SUPER_ADMIN_USERNAME} \
  -e SUPER_ADMIN_PASSWORD=${SUPER_ADMIN_PASSWORD} \
  --restart unless-stopped \
  ghcr.io/amoylab/unla/allinone:latest
중국 본토 사용자의 경우, 알리클라우드 레지스트리를 사용하고 모델을 커스터마이즈할 수 있습니다 (예: Qianwen):
export OPENAI_BASE_URL="https://dashscope.aliyuncs.com/compatible-mode/v1/"
export OPENAI_API_KEY="sk-eed837fb0b4a62ee69abc29a983492b7PlsChangeMe"
export OPENAI_MODEL="qwen-turbo"
export APISERVER_JWT_SECRET_KEY="fec6d38f73d4211318e7c85617f0e333PlsChangeMe"
export SUPER_ADMIN_USERNAME="admin"
export SUPER_ADMIN_PASSWORD="297df52fbc321ebf7198d497fe1c9206PlsChangeMe"
원클릭 배포:
docker run -d \
  --name unla \
  -p 8080:80 \
  -p 5234:5234 \
  -p 5235:5235 \
  -p 5335:5335 \
  -p 5236:5236 \
  -e ENV=production \
  -e TZ=Asia/Shanghai \
  -e OPENAI_BASE_URL=${OPENAI_BASE_URL} \
  -e OPENAI_API_KEY=${OPENAI_API_KEY} \
  -e OPENAI_MODEL=${OPENAI_MODEL} \
  -e APISERVER_JWT_SECRET_KEY=${APISERVER_JWT_SECRET_KEY} \
  -e SUPER_ADMIN_USERNAME=${SUPER_ADMIN_USERNAME} \
  -e SUPER_ADMIN_PASSWORD=${SUPER_ADMIN_PASSWORD} \
  --restart unless-stopped \
  registry.ap-southeast-1.aliyuncs.com/amoylab/unla-allinone:latest
접근 및 설정
-
웹 UI 접근:
- 브라우저에서 http://localhost:8080/ 열기
- 설정된 관리자 자격 증명으로 로그인
-
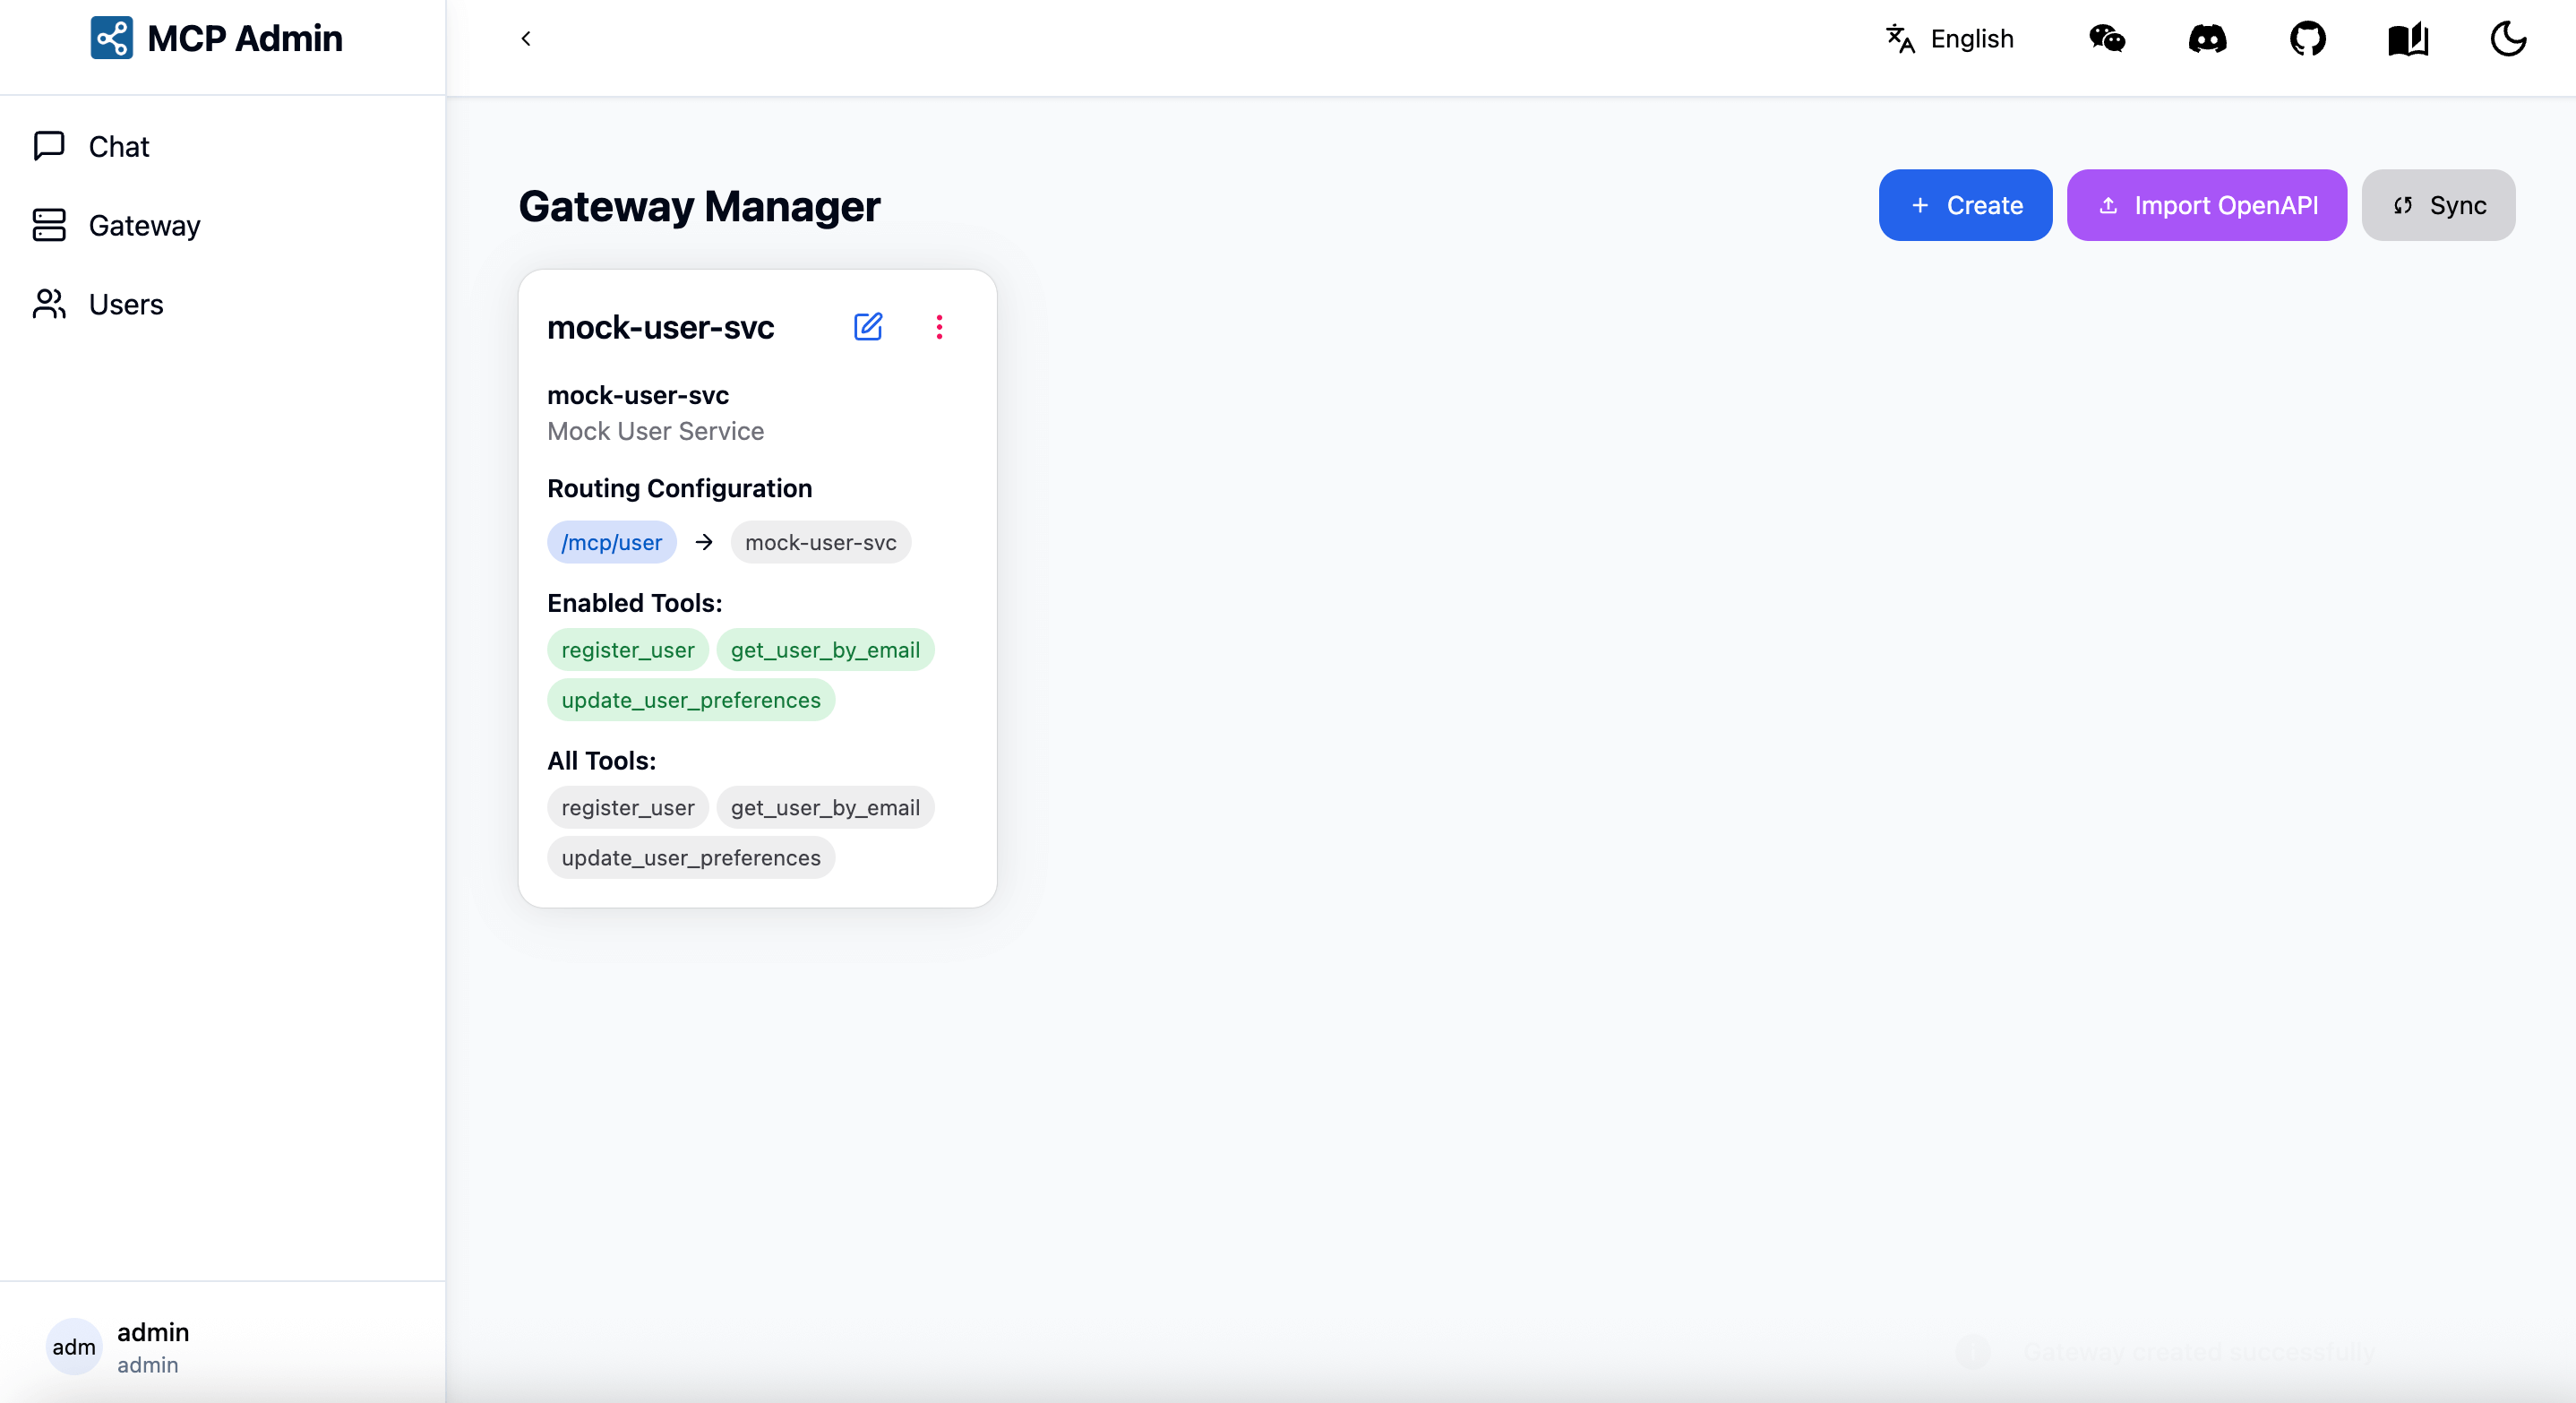
새 MCP 서버 추가:
- 설정 파일 복사: https://github.com/amoylab/unla/blob/main/configs/mock-server.yaml
- 웹 UI에서 "Add MCP Server" 클릭
- 설정 붙여넣기 및 저장
사용 가능한 엔드포인트
설정이 완료되면 다음 엔드포인트에서 서비스를 사용할 수 있습니다:
- MCP SSE: http://localhost:5235/mcp/user/sse
- MCP SSE Message: http://localhost:5235/mcp/user/message
- MCP Streamable HTTP: http://localhost:5235/mcp/user/mcp
MCP 클라이언트에서 /sse 또는 /mcp로 끝나는 URL을 설정하면 바로 사용할 수 있습니다.
테스트
다음 두 가지 방법으로 서비스를 테스트할 수 있습니다:
- 웹 UI의 MCP Chat 페이지 사용
- 자체 MCP 클라이언트 사용 (권장)
고급 설정 (선택사항)
더 세밀한 설정이 필요한 경우, 설정 파일을 마운트하여 서비스를 시작할 수 있습니다:
- 필요한 디렉토리 생성 및 설정 파일 다운로드:
mkdir -p unla/{configs,data}
cd unla/
curl -sL https://raw.githubusercontent.com/amoylab/unla/refs/heads/main/configs/apiserver.yaml -o configs/apiserver.yaml
curl -sL https://raw.githubusercontent.com/amoylab/unla/refs/heads/main/configs/mcp-gateway.yaml -o configs/mcp-gateway.yaml
curl -sL https://raw.githubusercontent.com/amoylab/unla/refs/heads/main/.env.example -o .env.allinone
- Docker로 MCP Gateway 실행:
docker run -d \
           --name unla \
           -p 8080:80 \
           -p 5234:5234 \
           -p 5235:5235 \
           -p 5335:5335 \
           -p 5236:5236 \
           -e ENV=production \
           -v $(pwd)/configs:/app/configs \
           -v $(pwd)/data:/app/data \
           -v $(pwd)/.env.allinone:/app/.env \
           --restart unless-stopped \
           ghcr.io/amoylab/unla/allinone:latest